How to Use Projection Mapping Textures — Complete Workflow Guide
Projection Mapping Textures are one of the most unique and underused tools in architectural video mapping. Unlike animated loops that play back on their own, textures give you complete creative control — static graphic elements that you animate, layer and compose yourself, exactly the way you want.
This guide explains what Projection Mapping Textures are, how they work technically, and how to integrate them into your production workflow from scratch or using existing animation tools.
What Are Projection Mapping Textures?
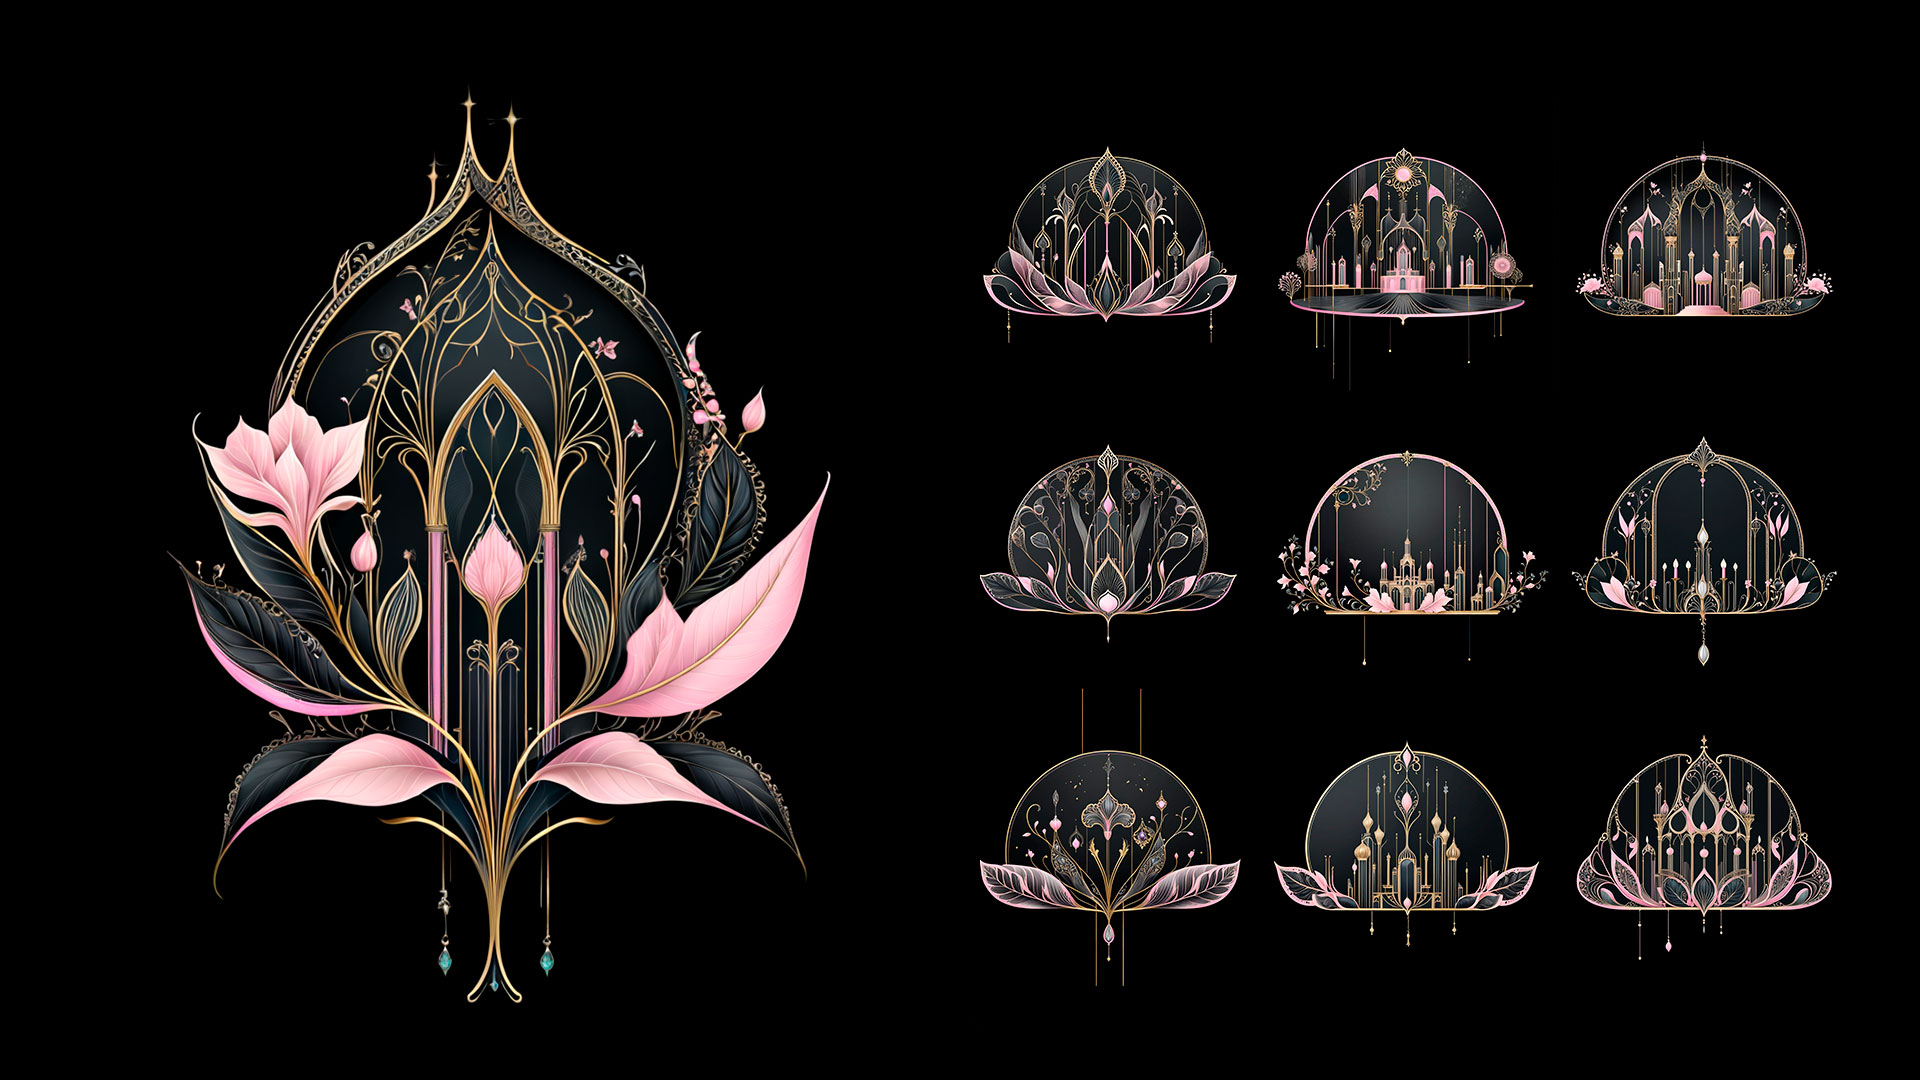
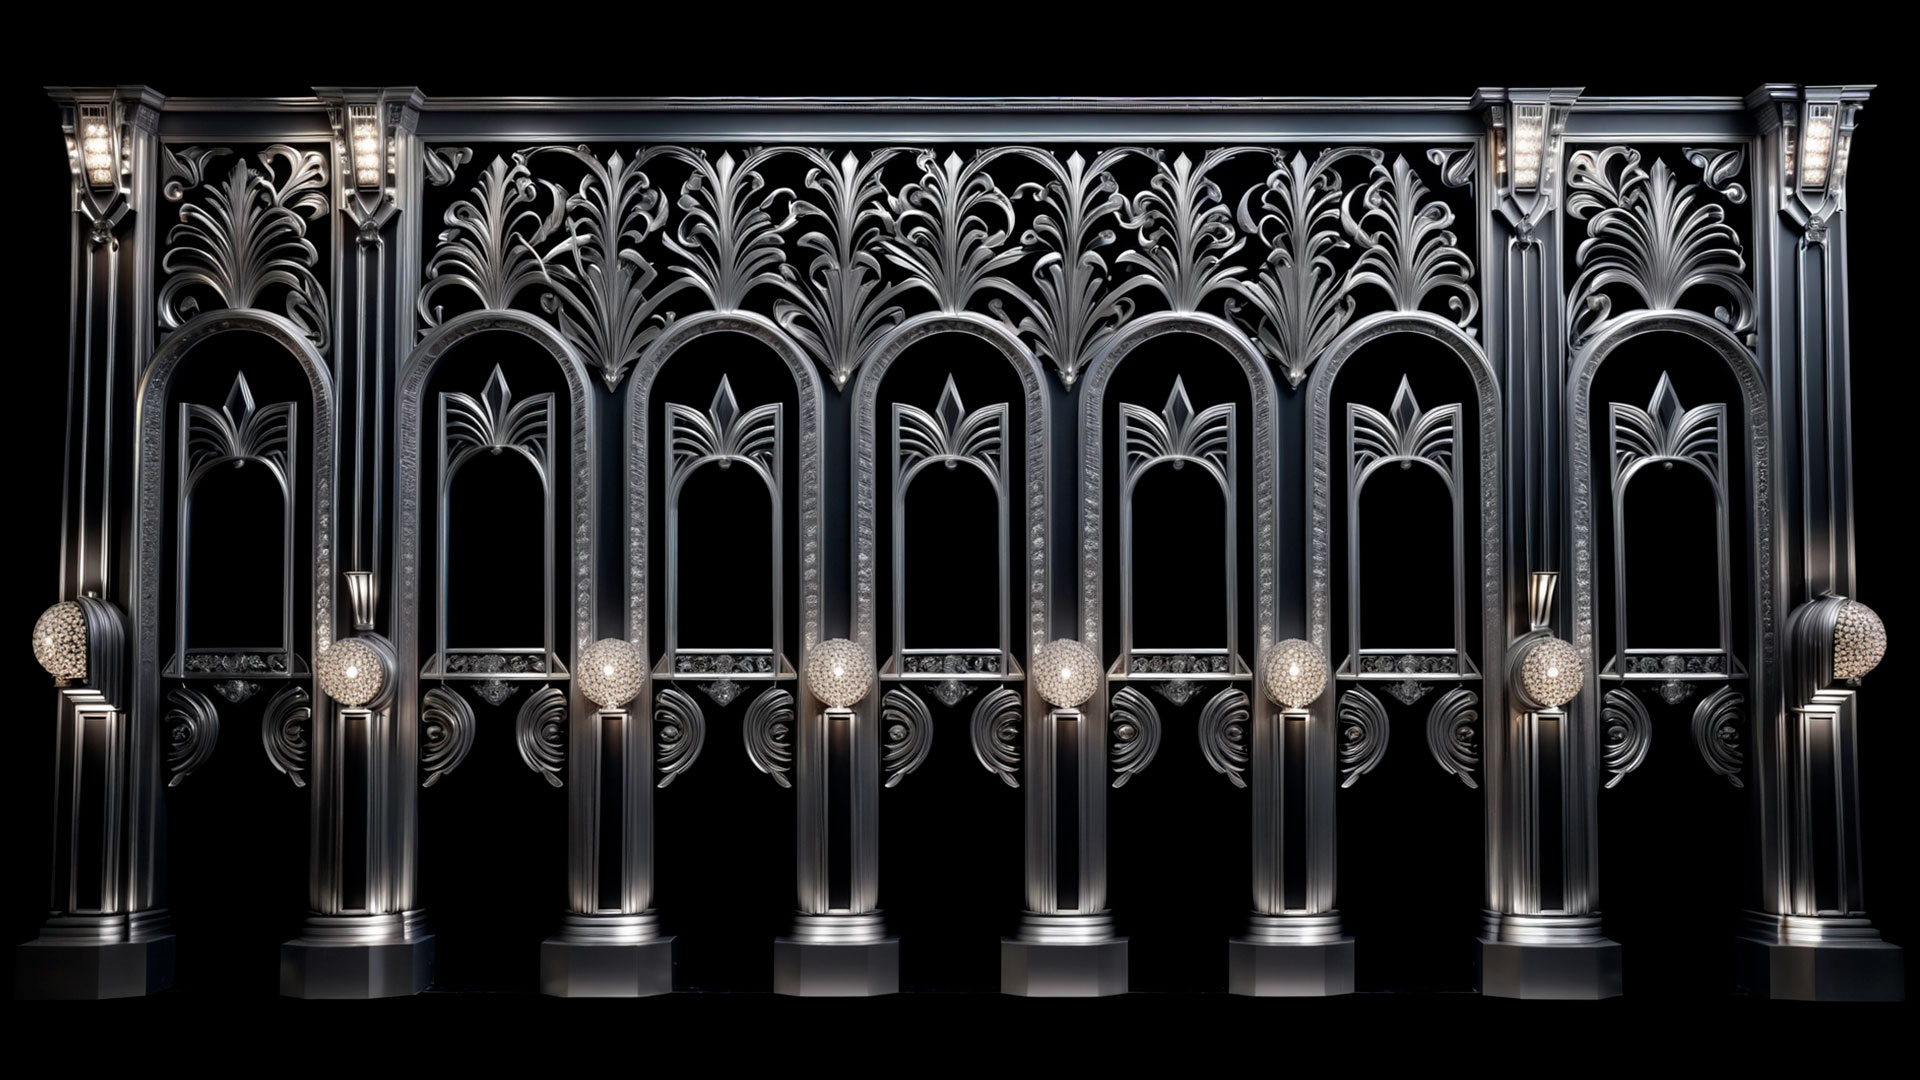
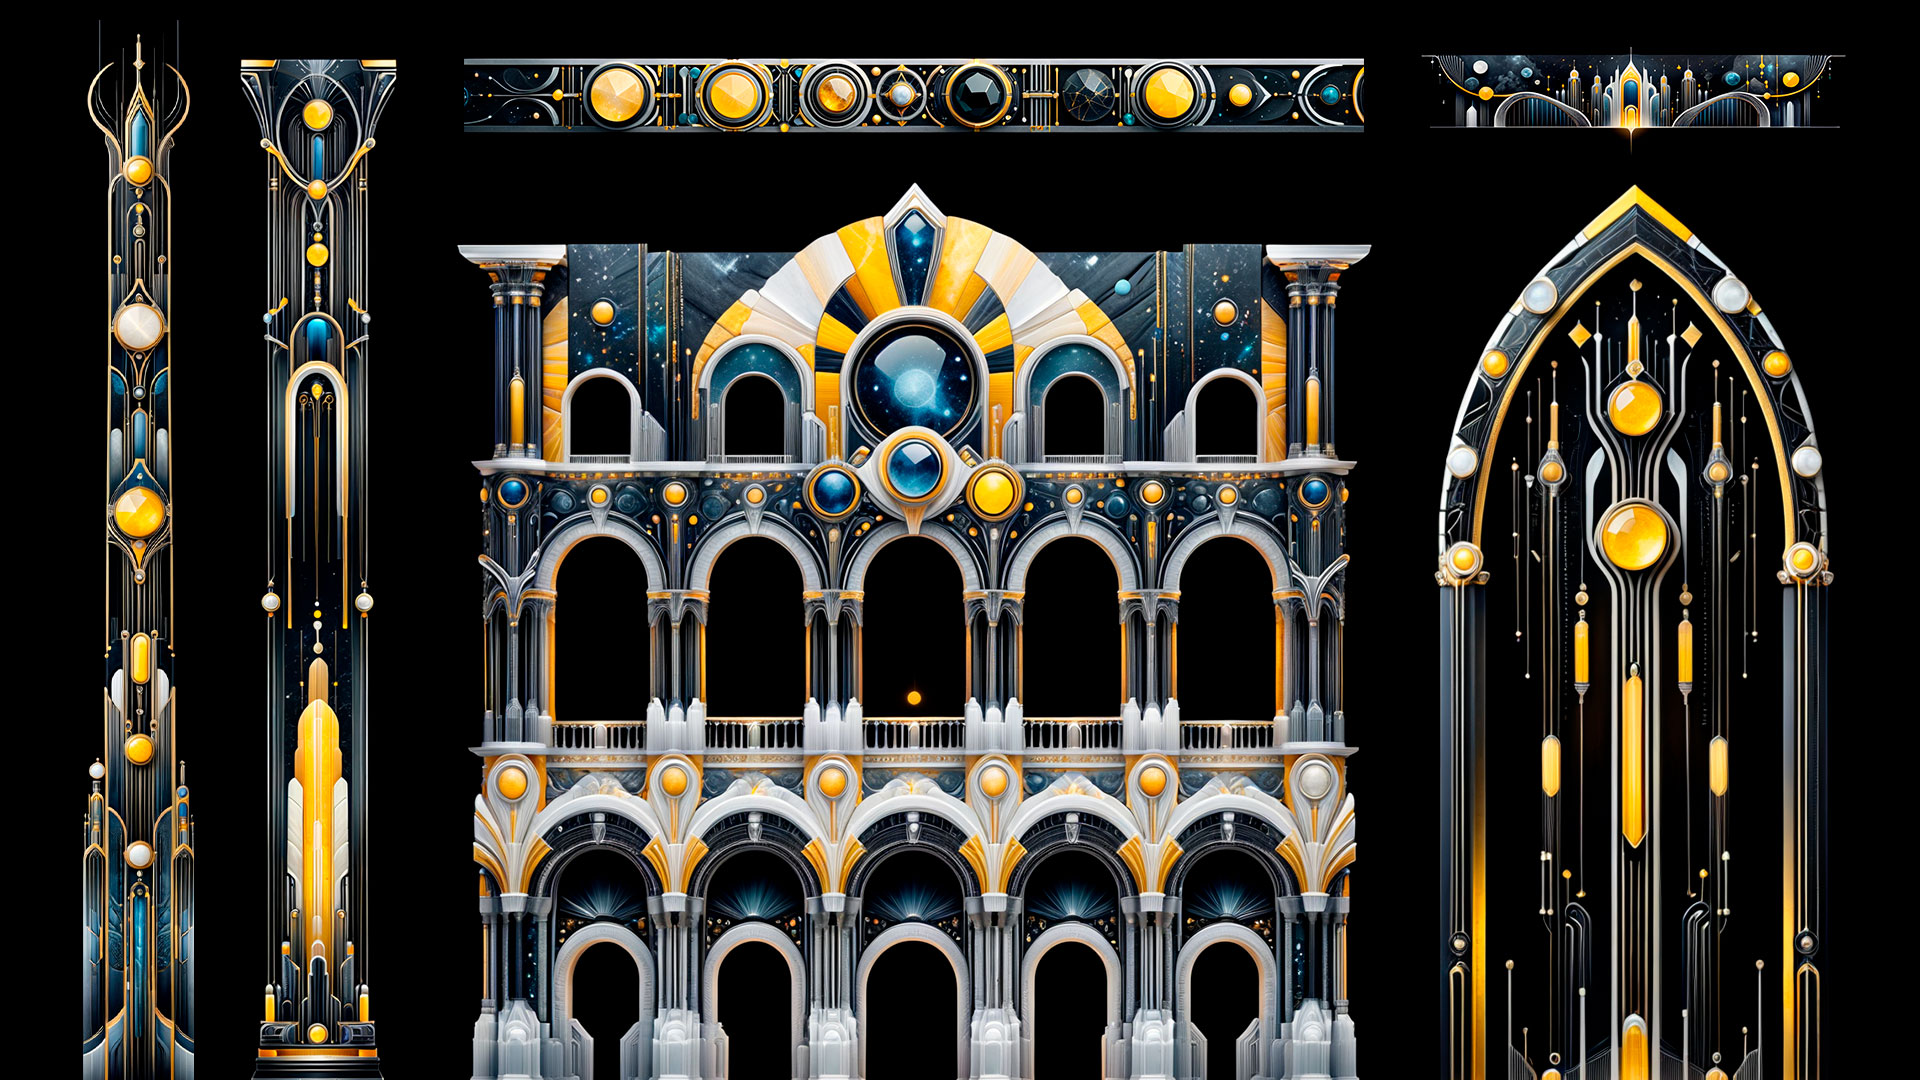
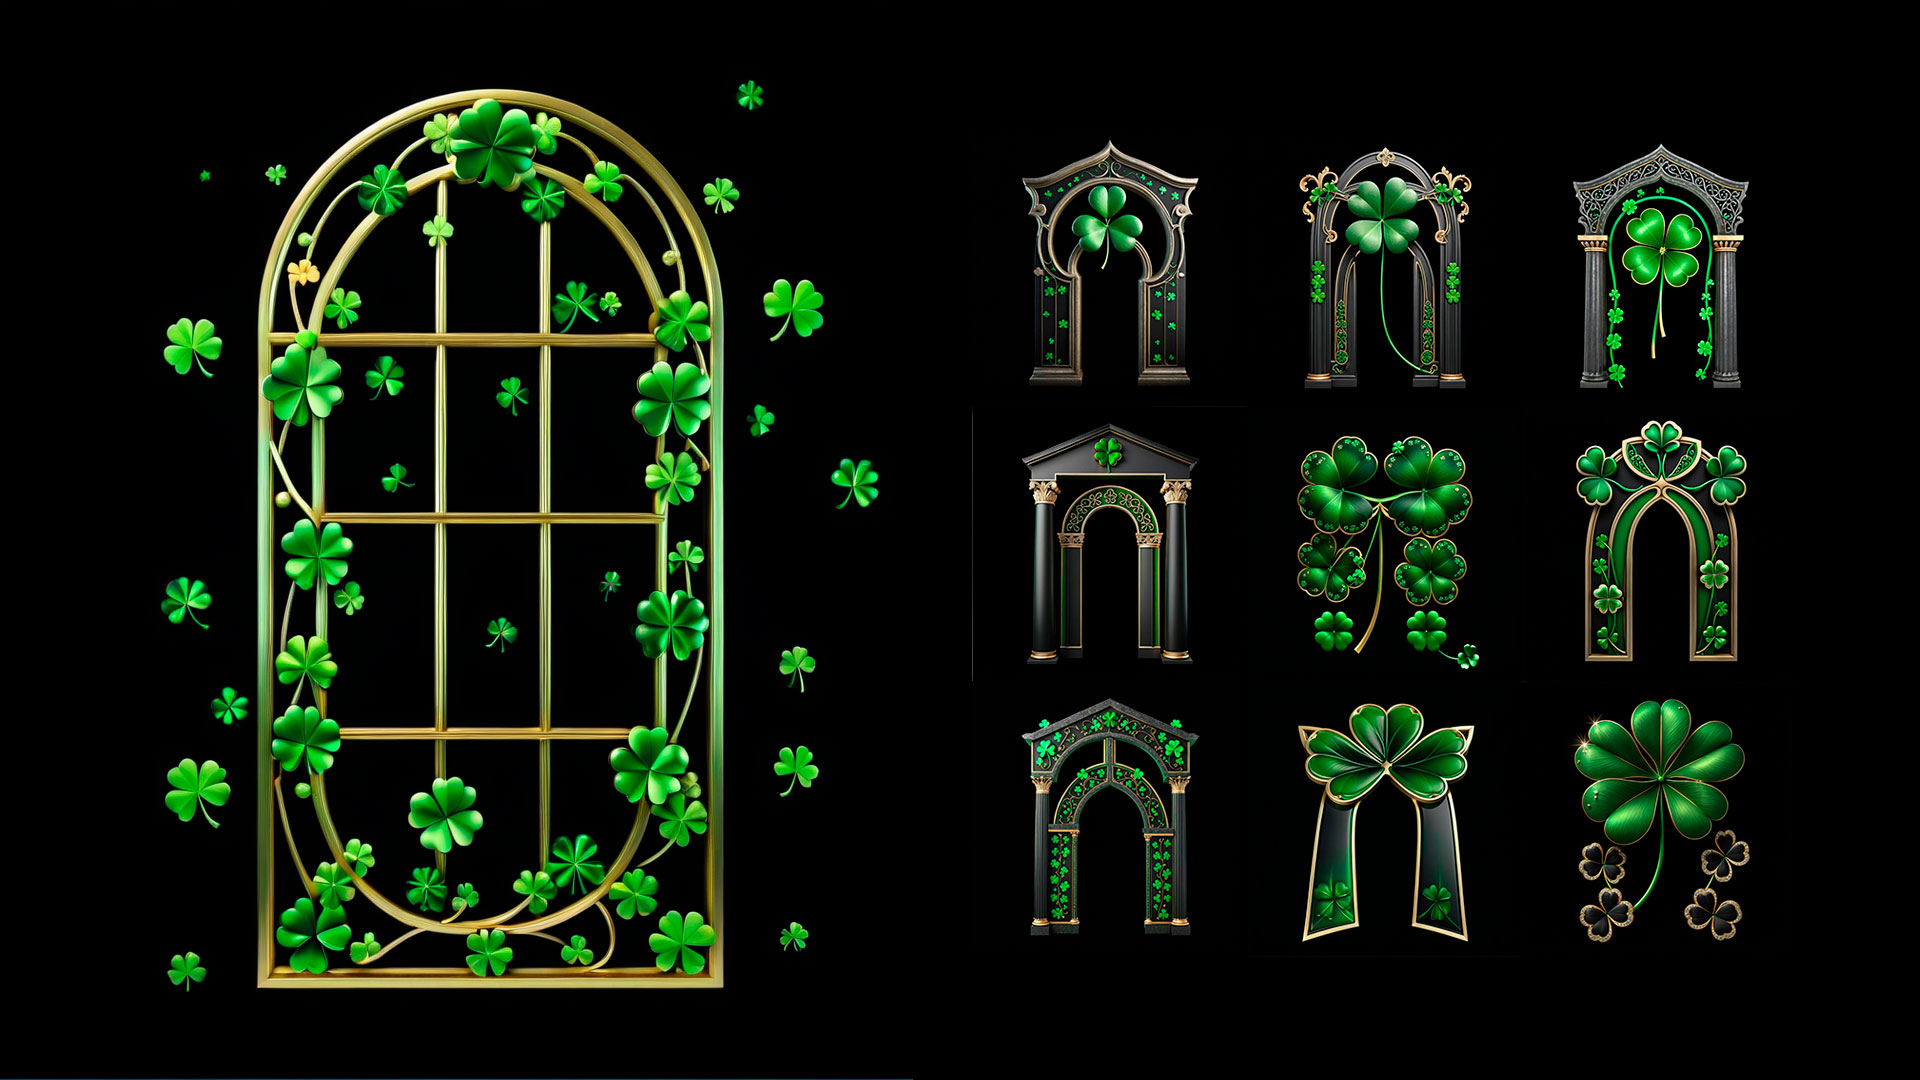
Projection Mapping Textures are high-resolution static graphic elements designed specifically for projection onto architectural surfaces. Every element is delivered with a transparent alpha channel — meaning the decorative element sits cleanly on any background without a visible edge or bounding box.
The library at Video Mapping Store was developed by media artist Alexander Kuiava and includes:
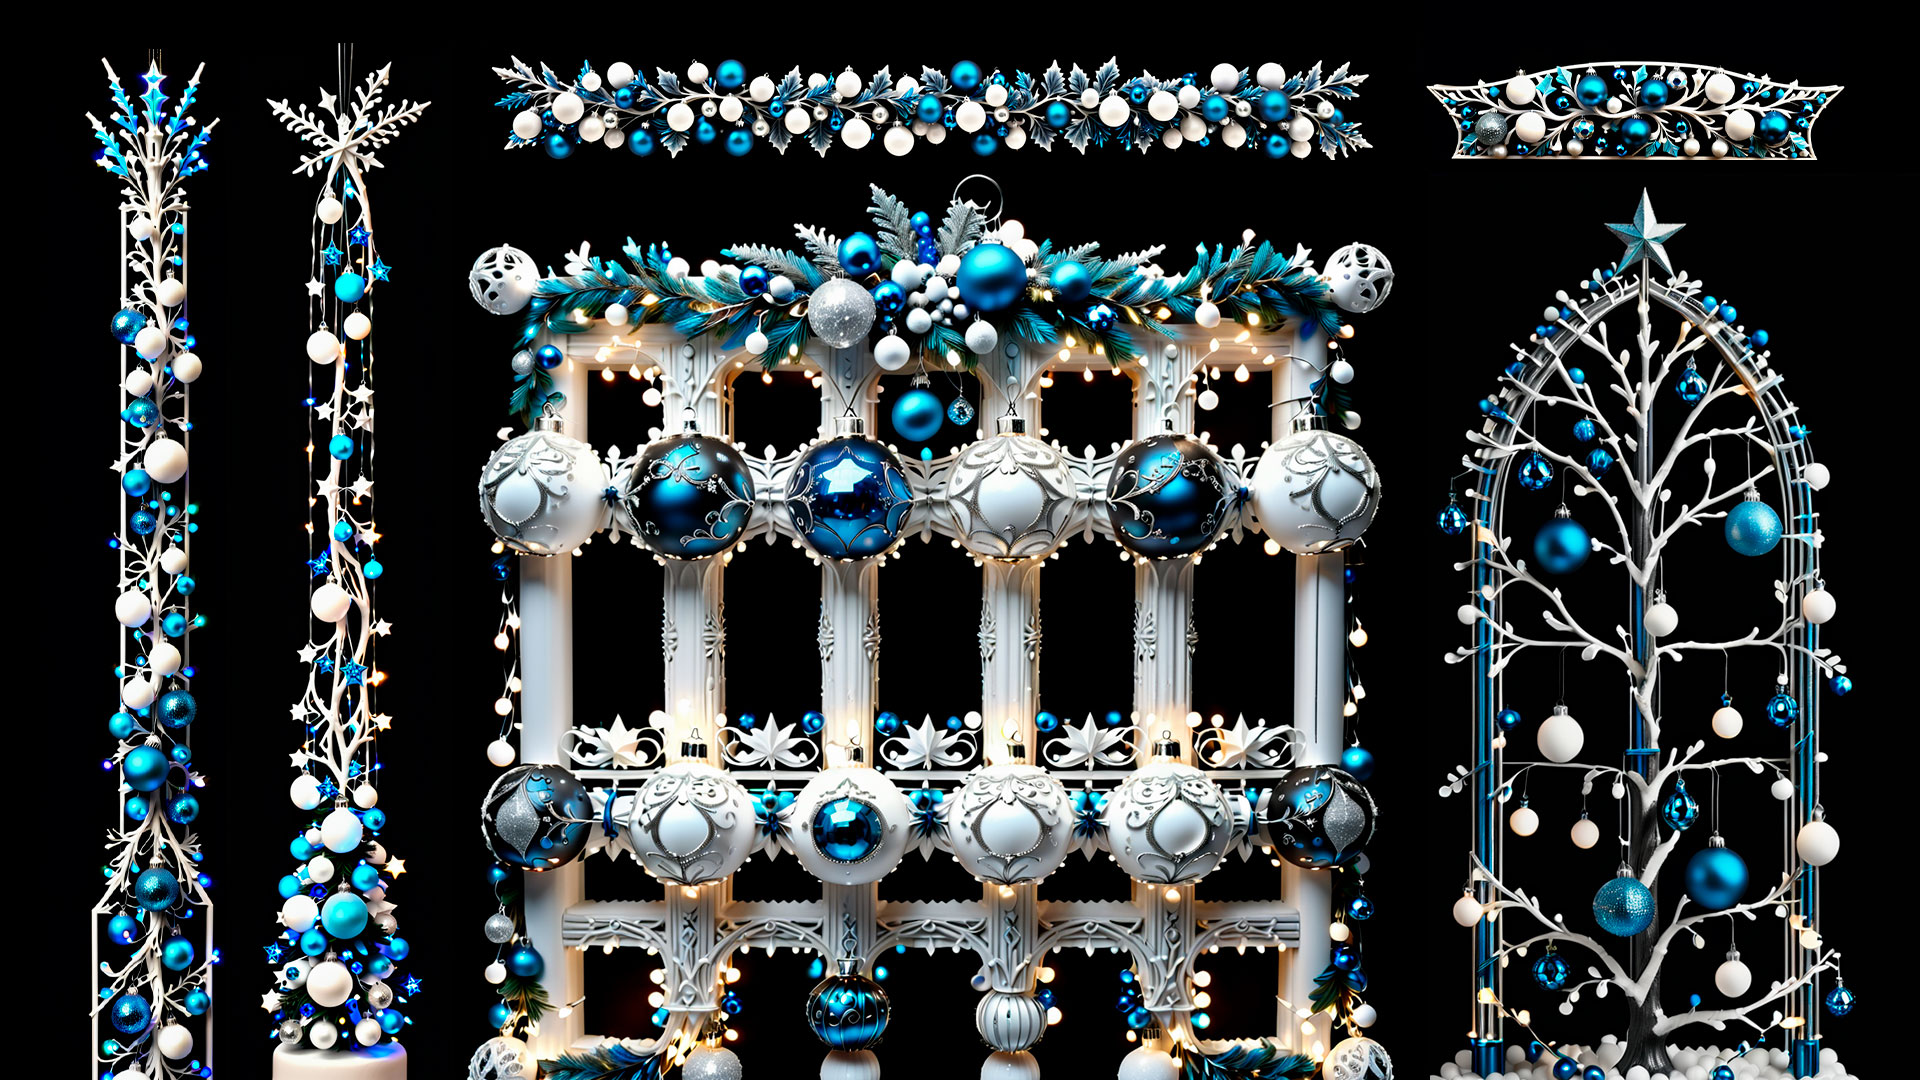
Columns, pilasters and colonnades — classical and baroque proportions adapted for building projection scales
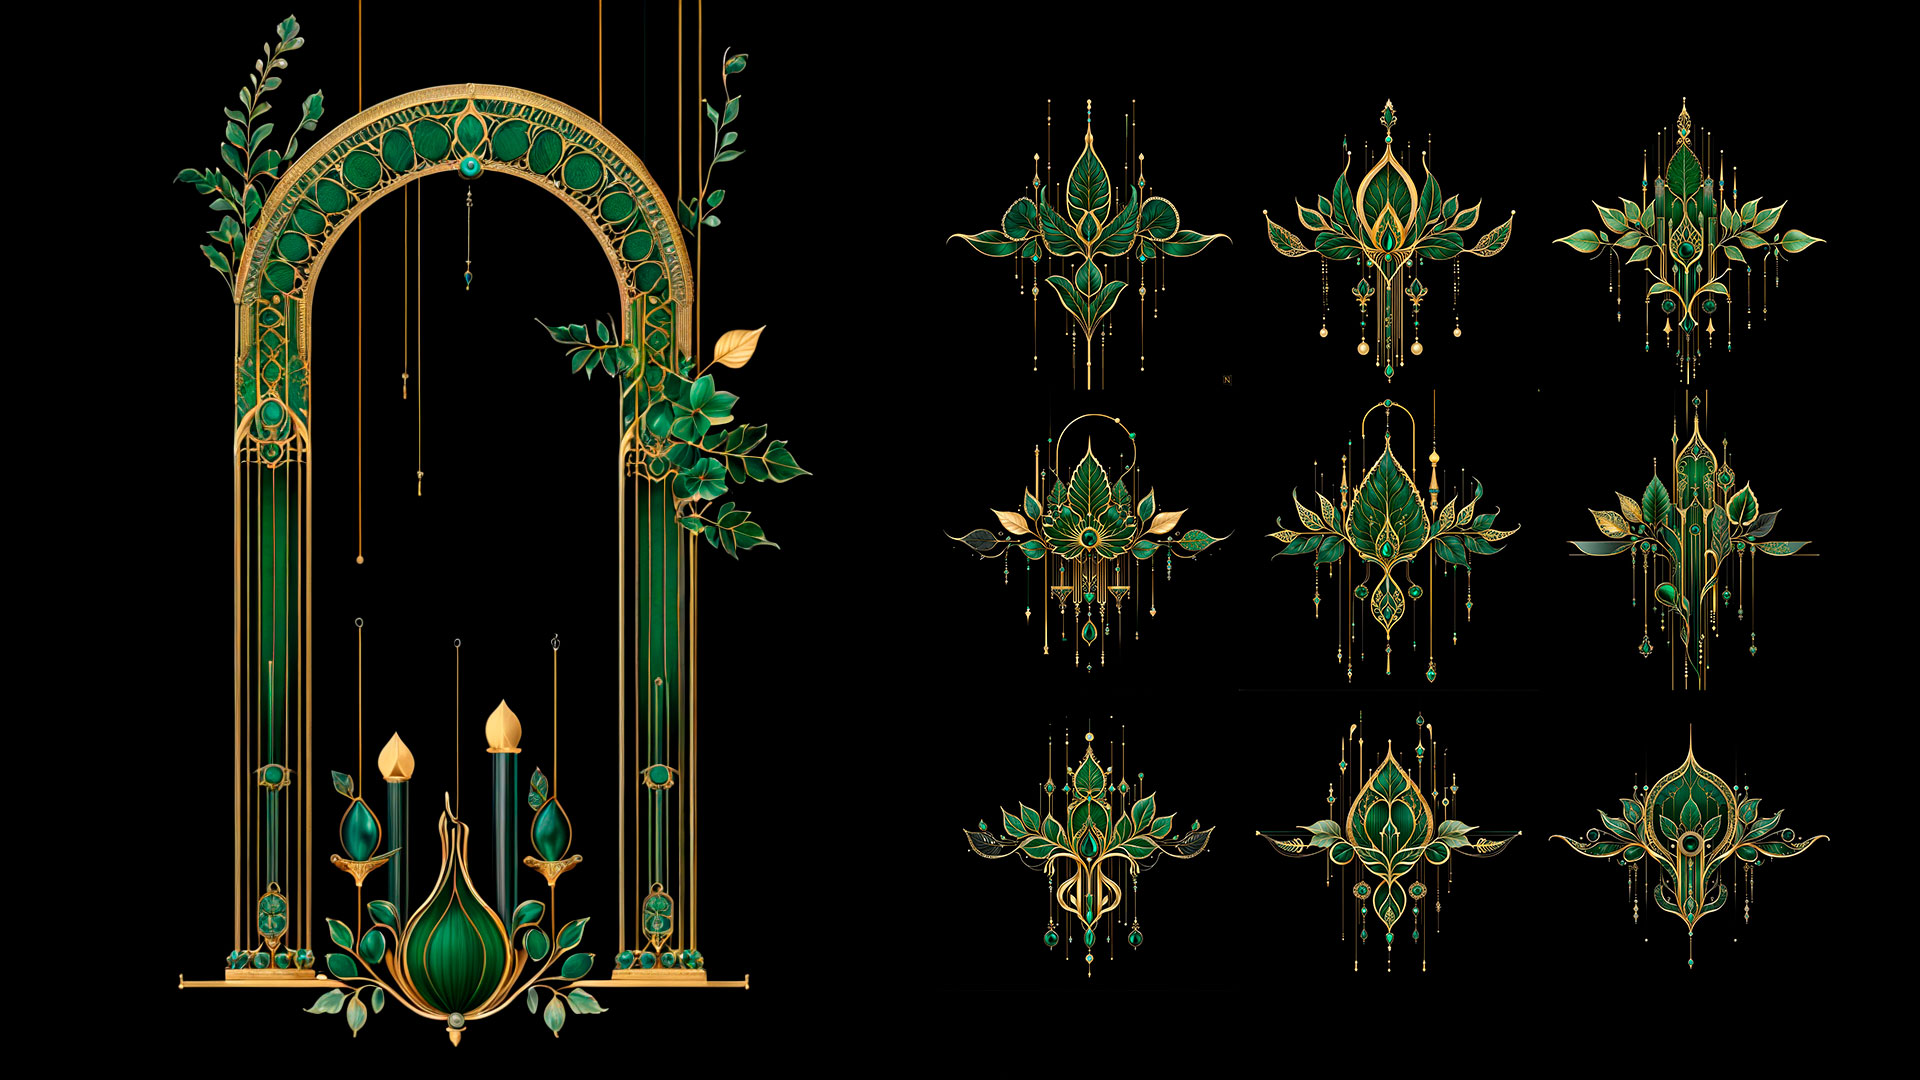
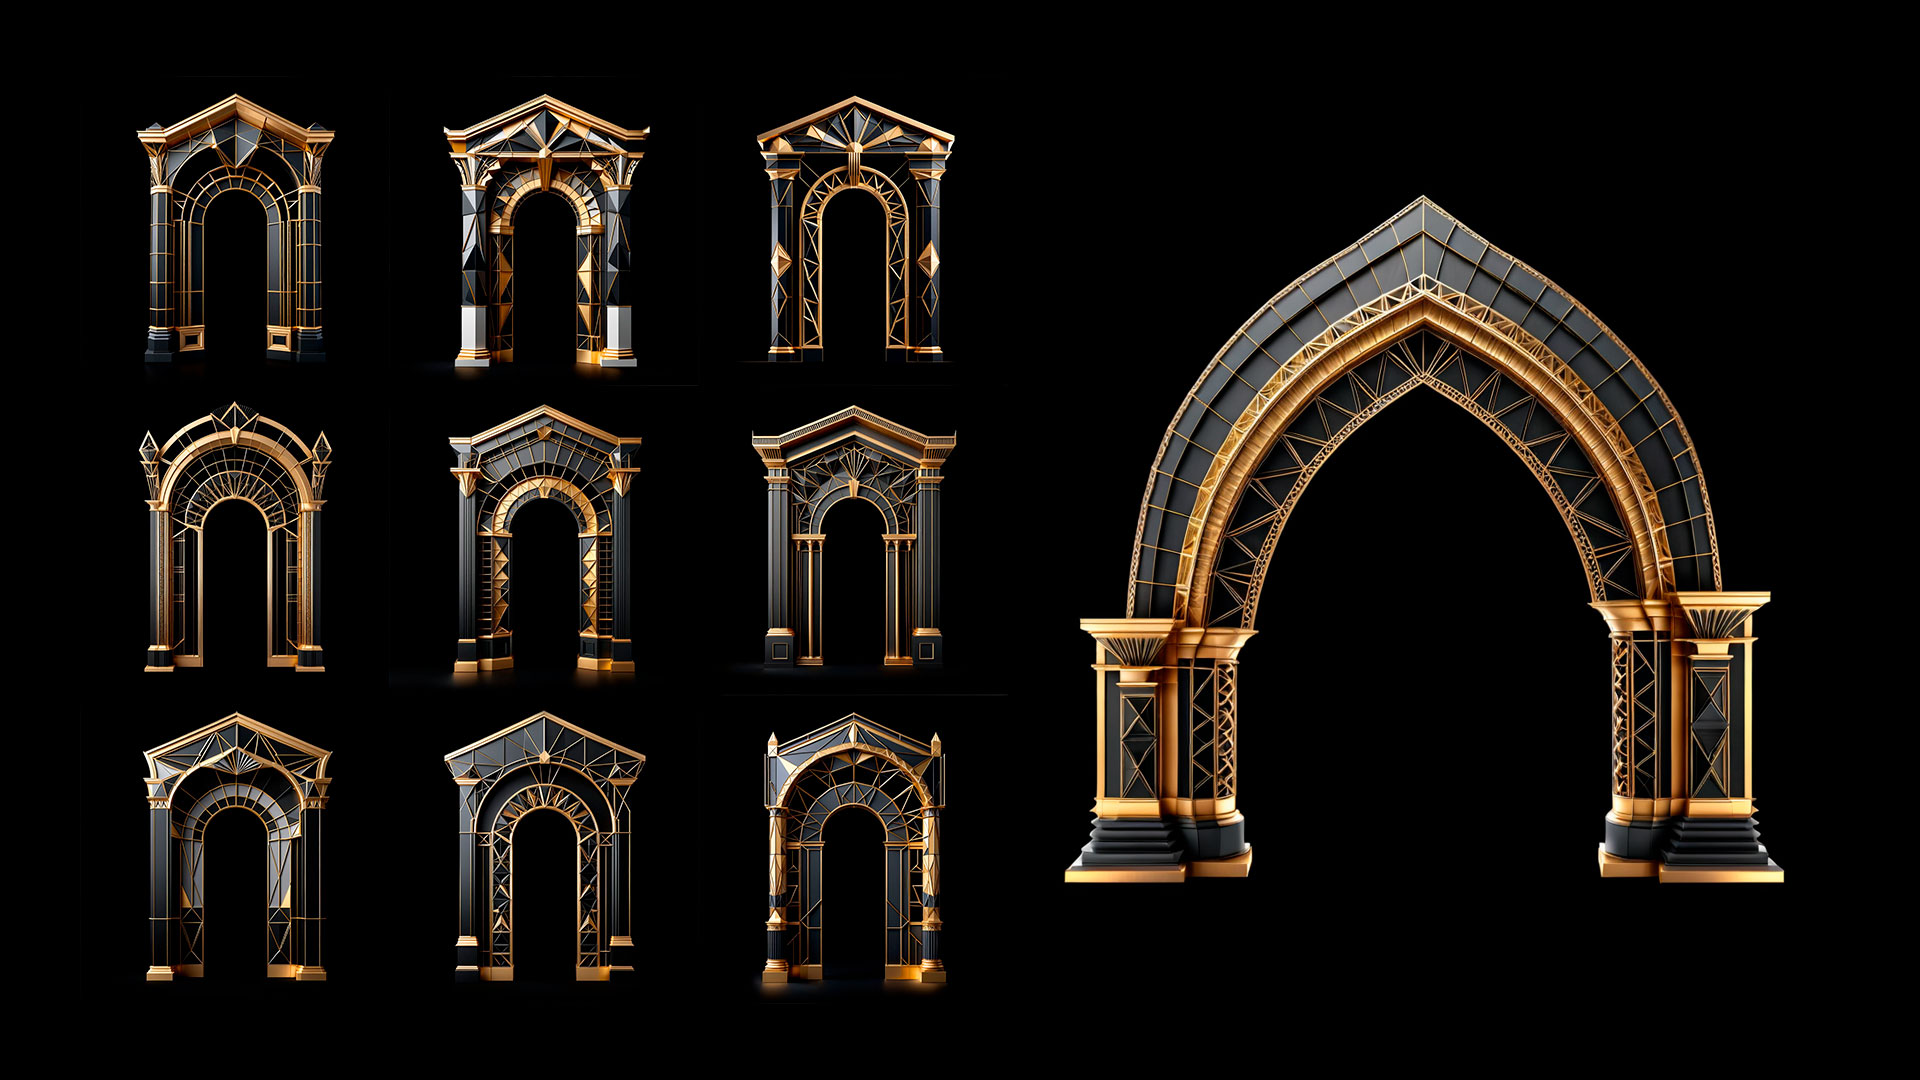
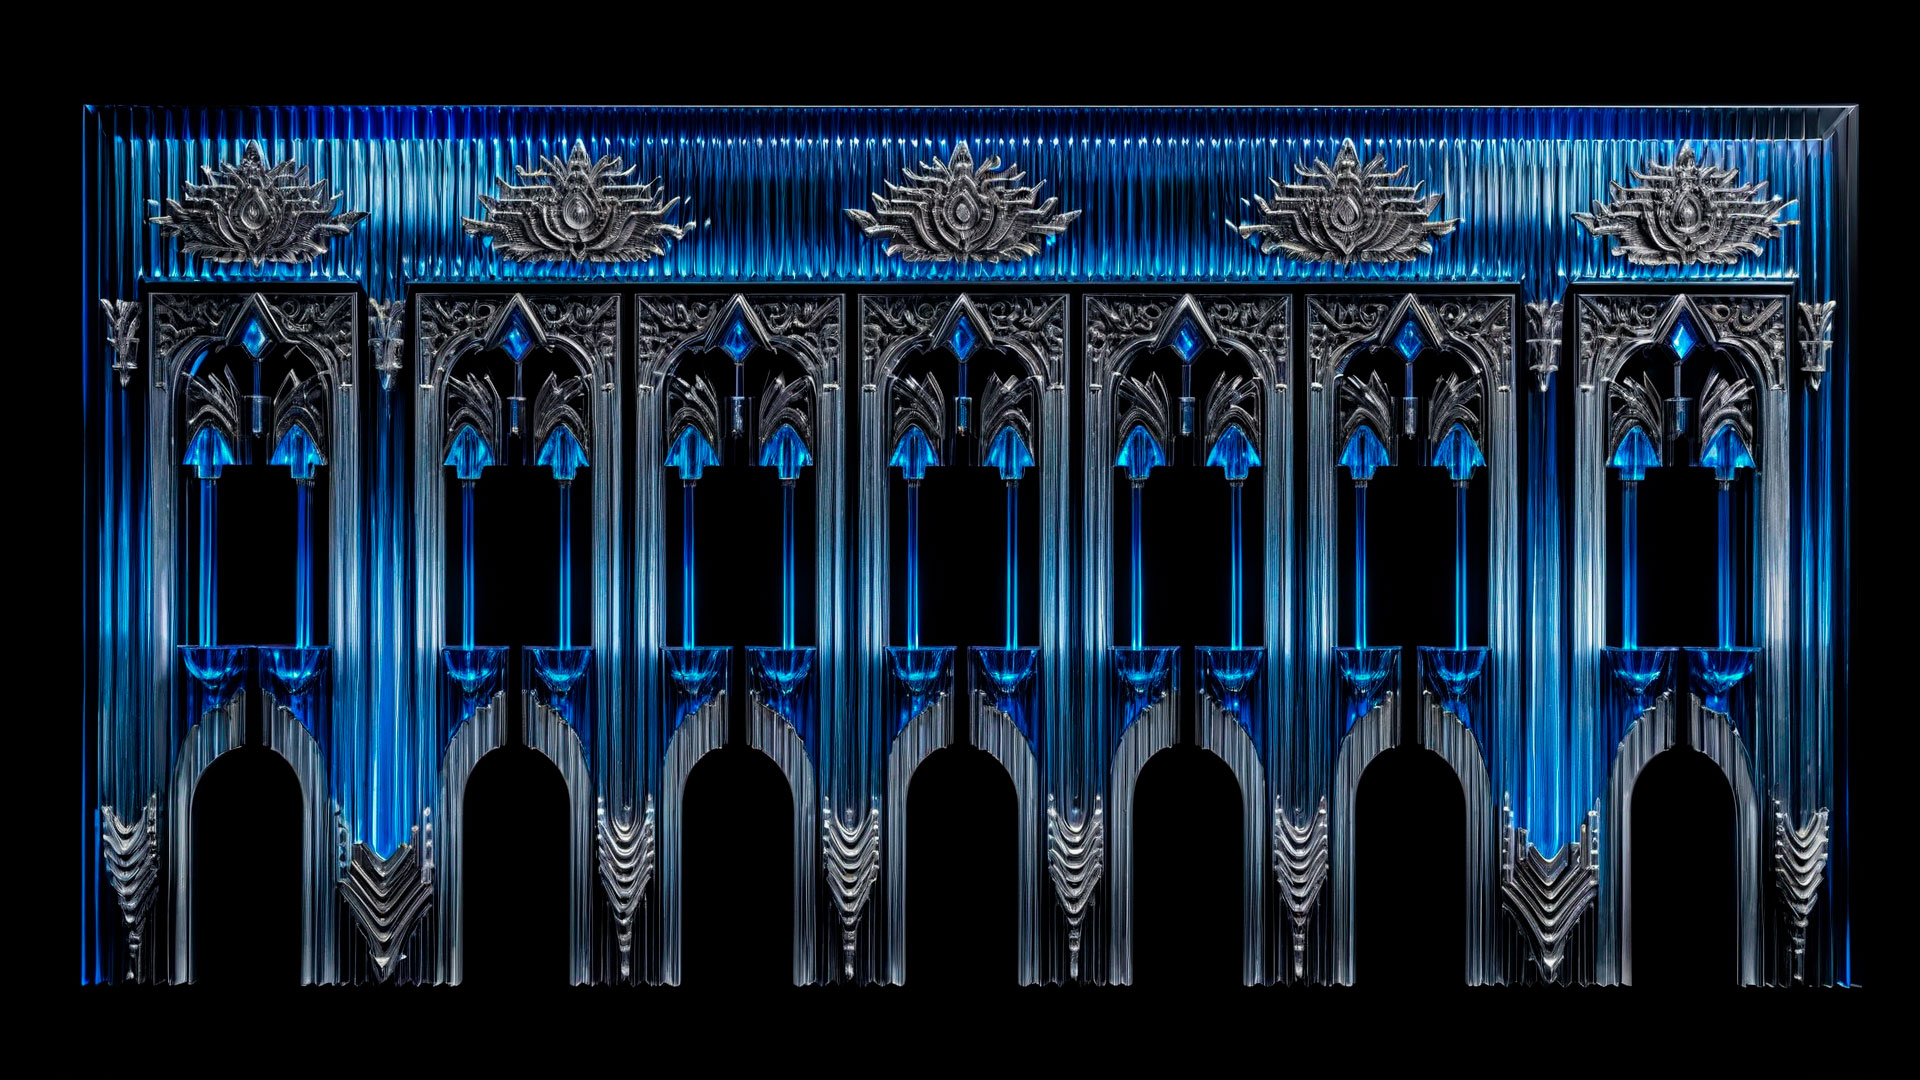
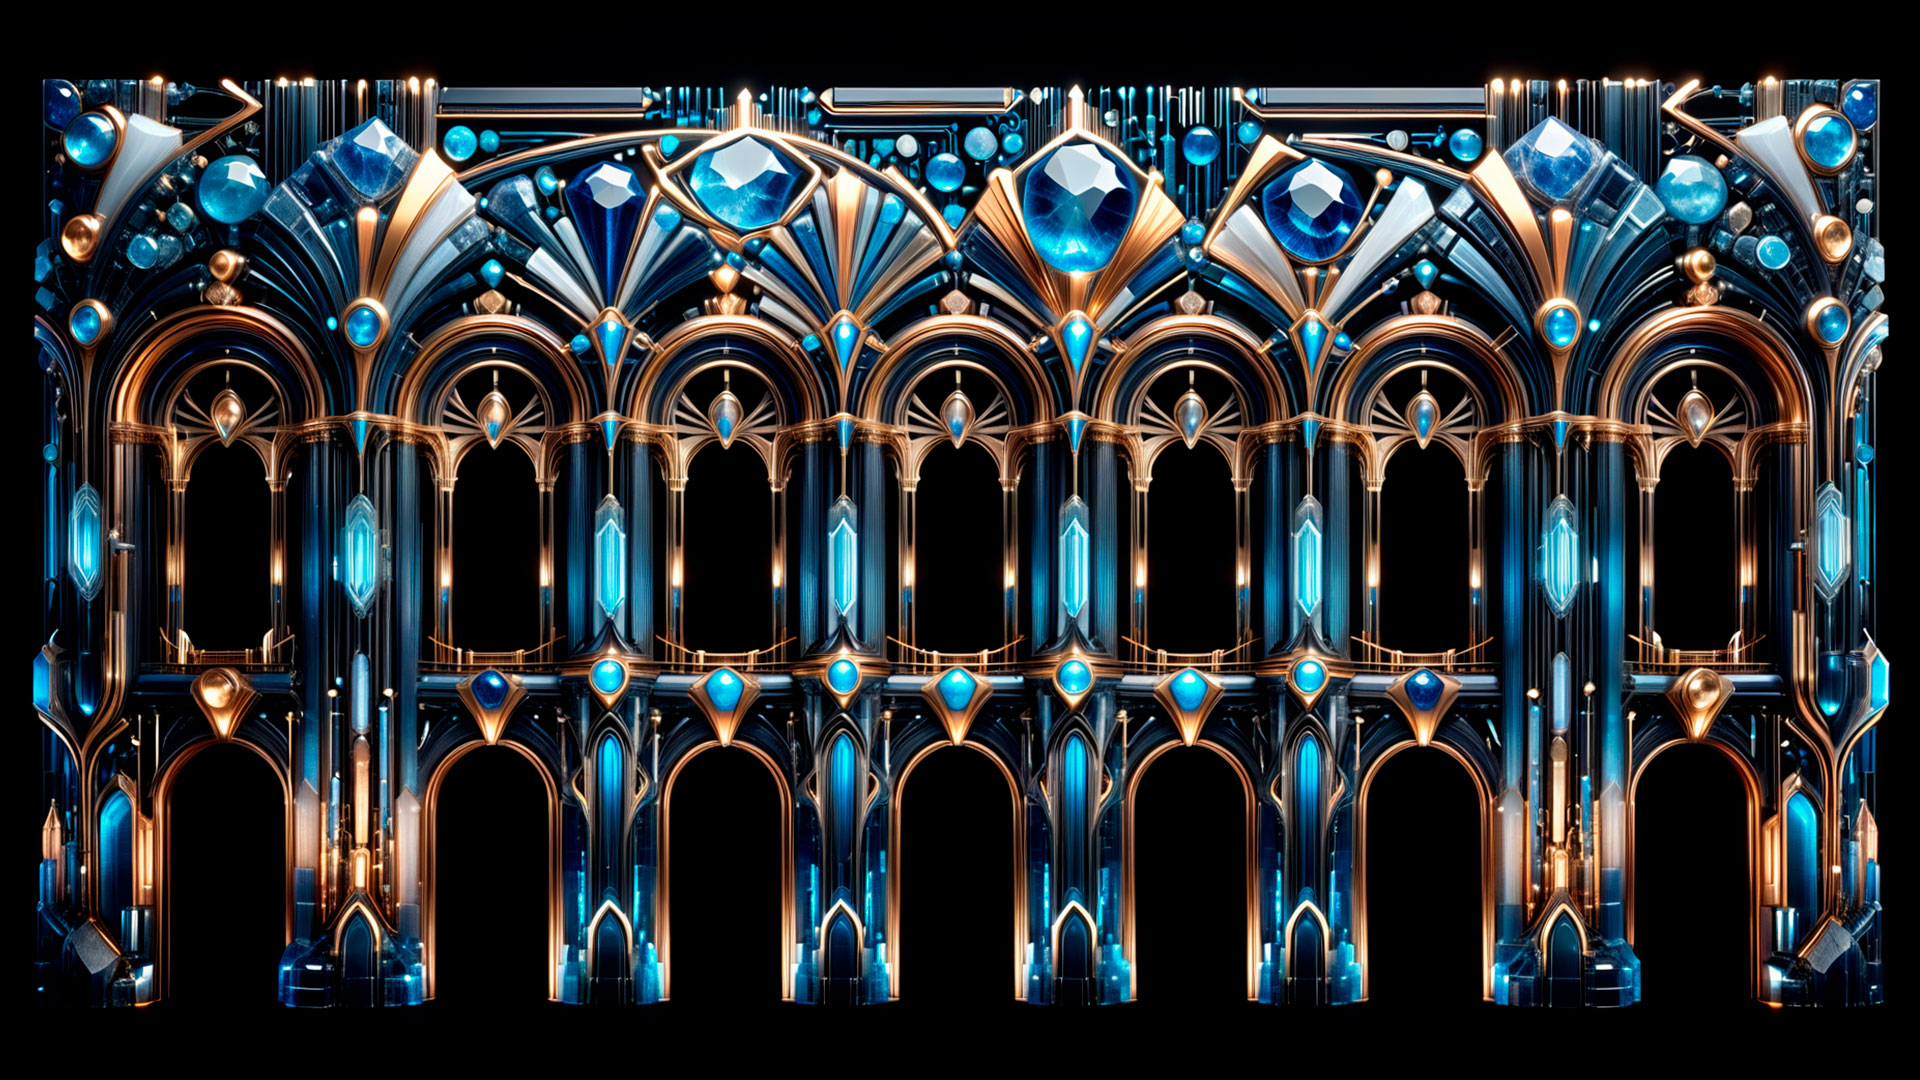
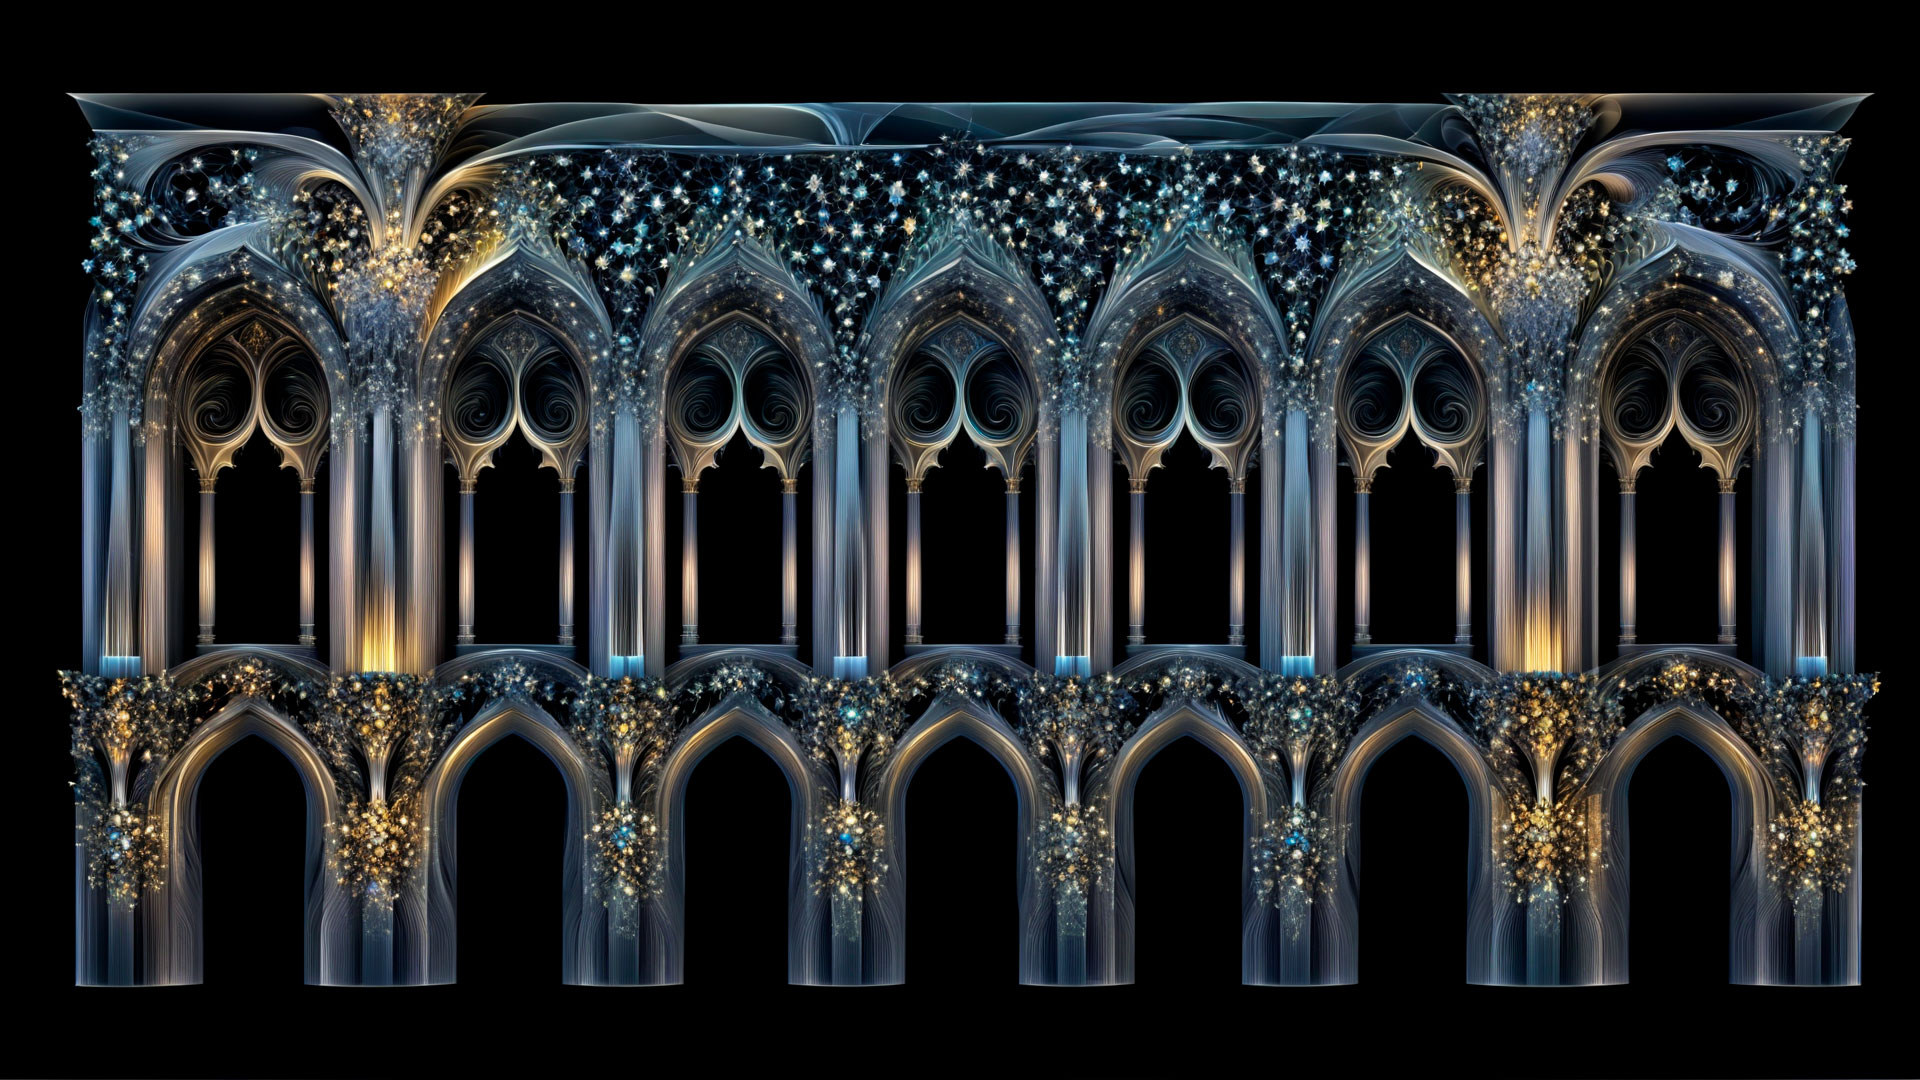
Arches, vaults and portals — gothic, romanesque, renaissance and neoclassical styles
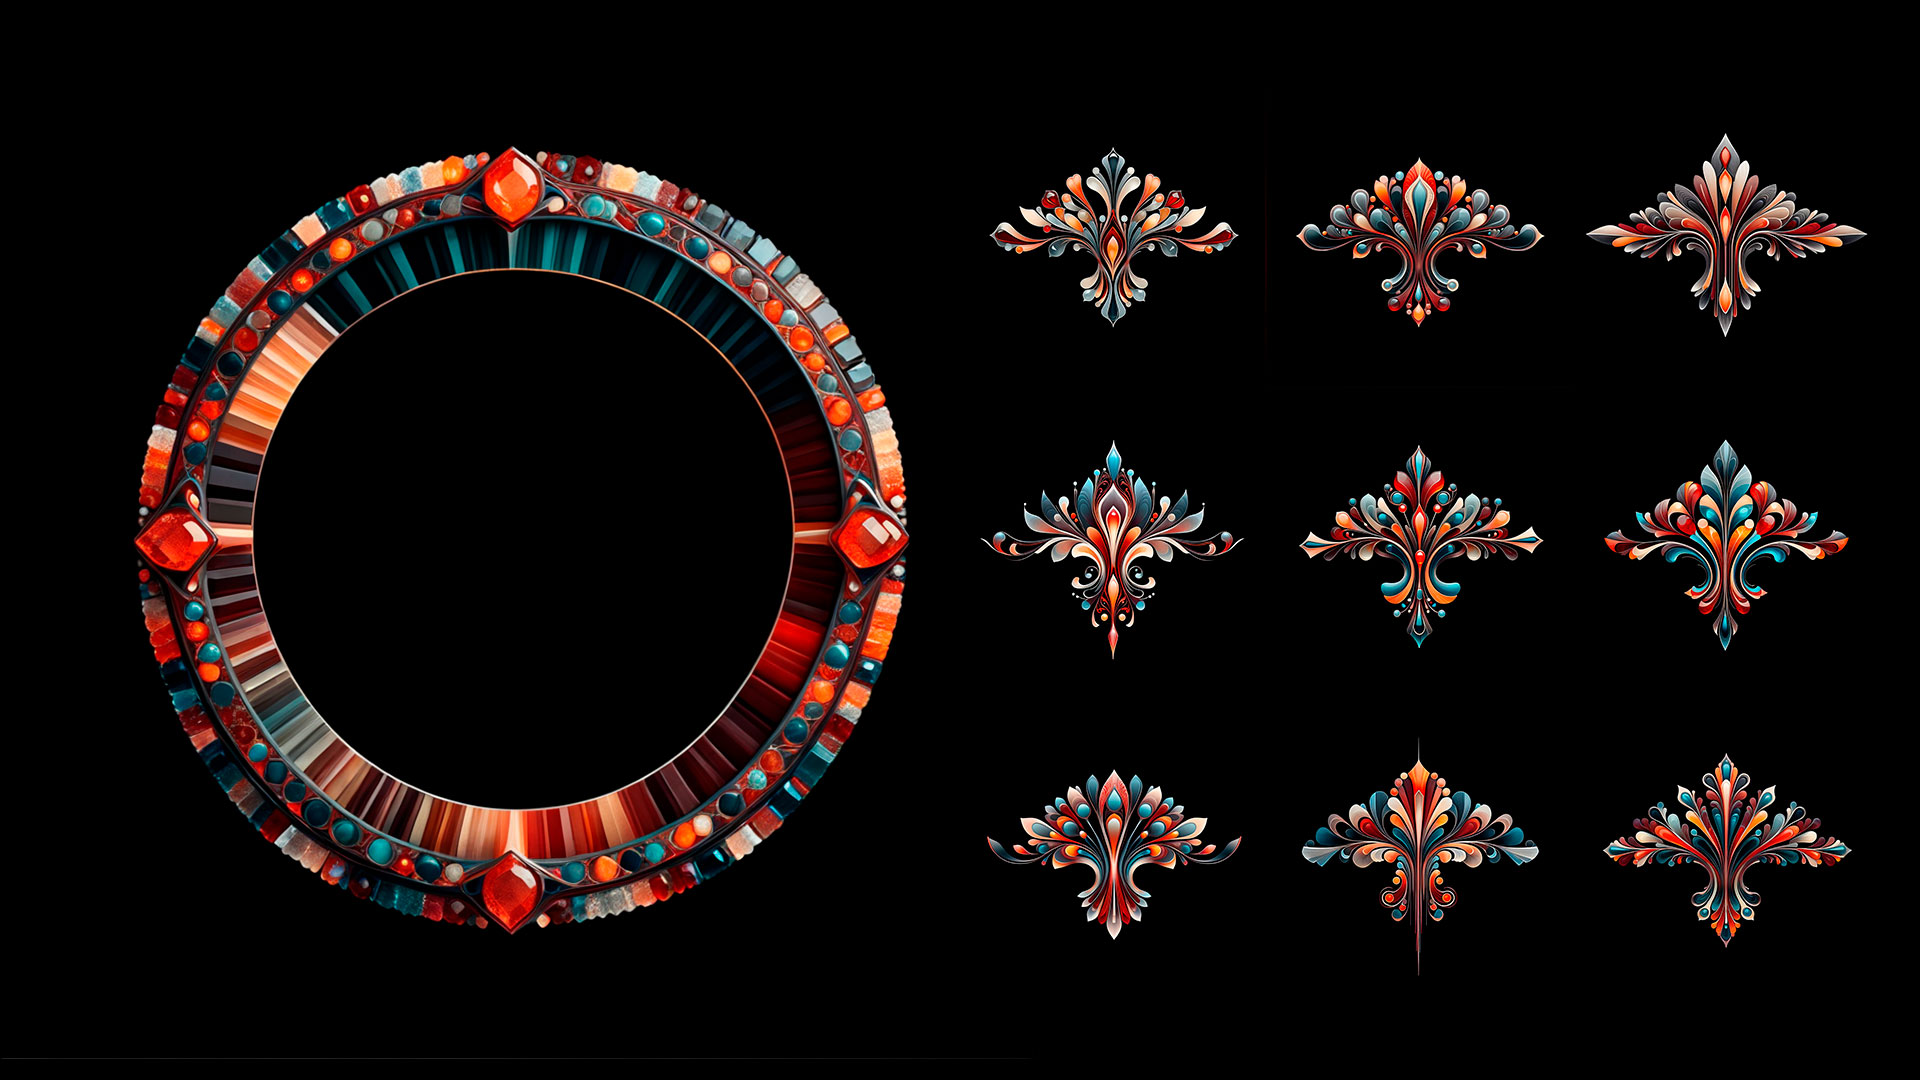
Cornices, friezes and mouldings — horizontal decorative bands for facade layering
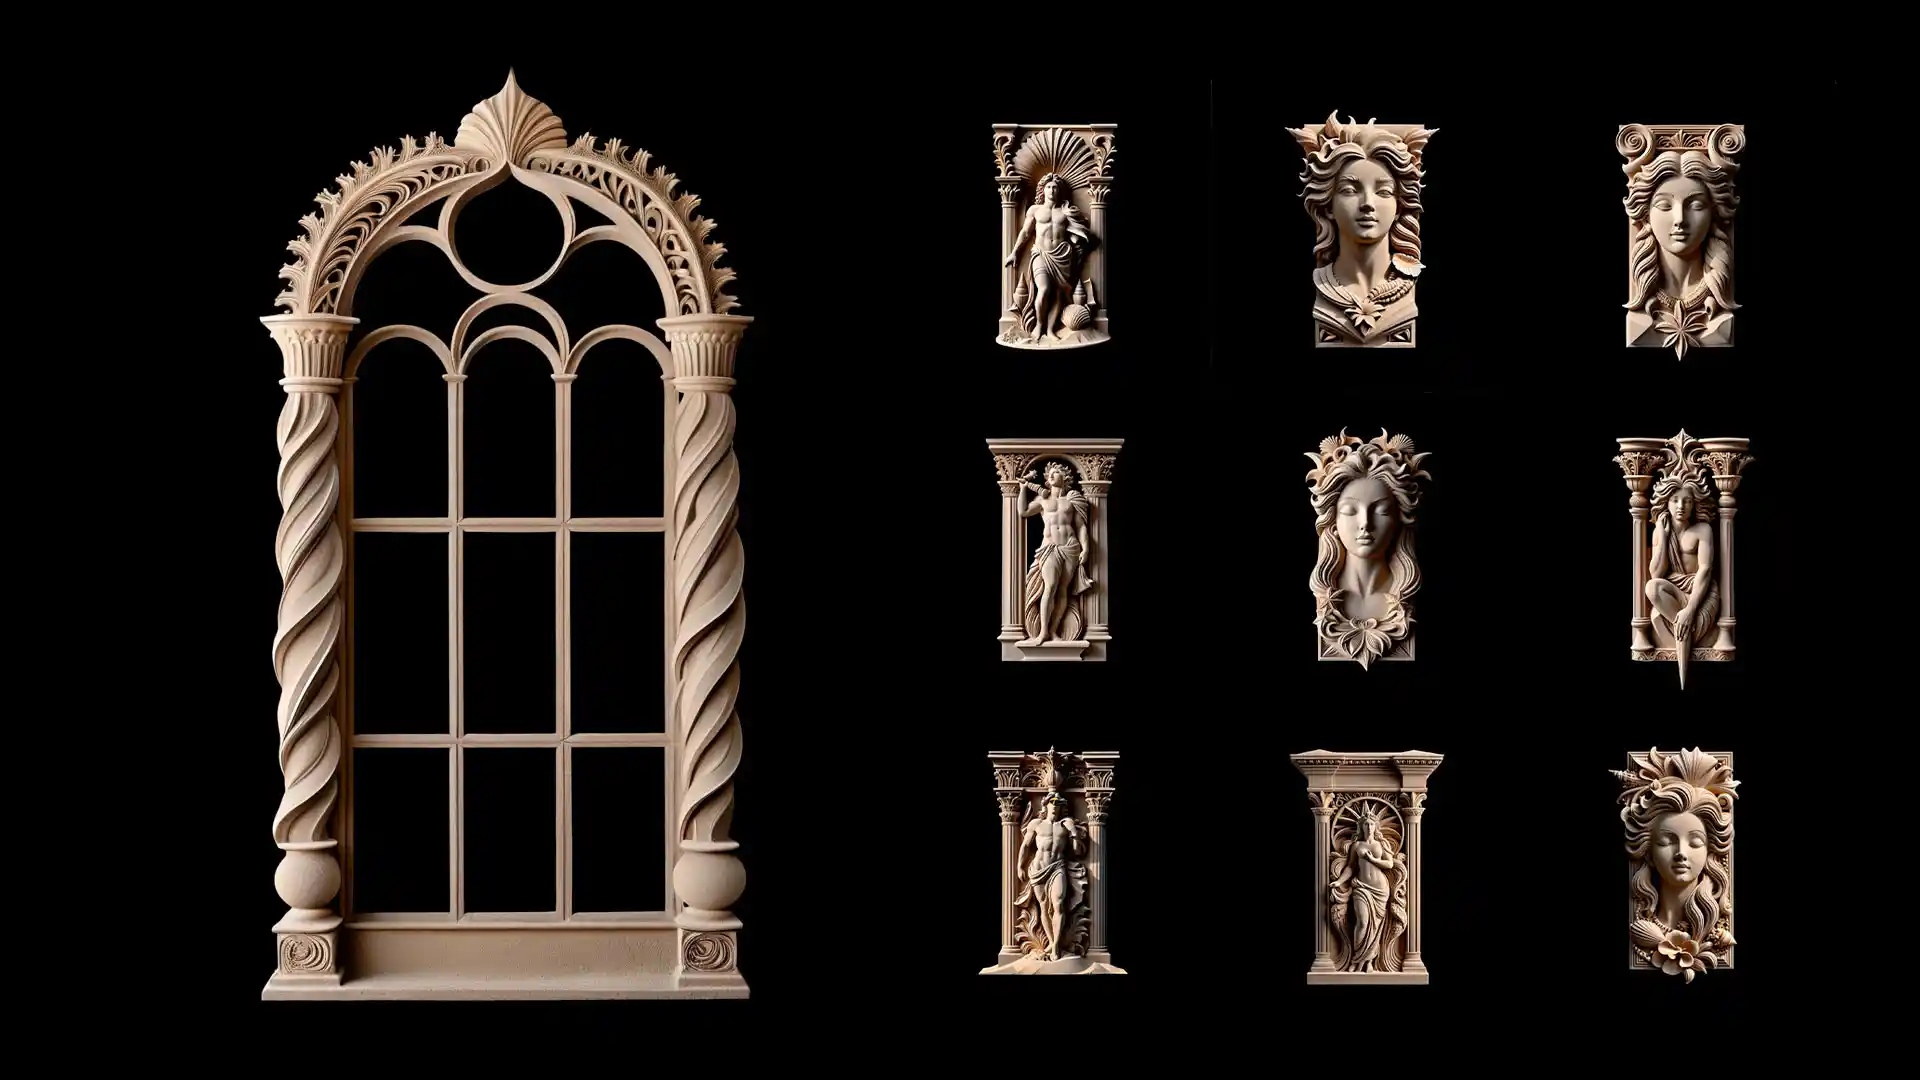
Windows, frames and dormers — ornamental window surrounds for multiple architectural periods
National and regional ornamental styles — Japanese, Aztec and Pre-Columbian, Baroque European, Islamic geometric patterns, Slavic folk ornament and more
Every element is created at projection-ready resolution with correct proportions for building-scale output. The alpha channel means you can layer multiple elements over any video background — animated loops, coloured light, gradient washes — with clean transparent edges.
Why Static Textures Instead of Animated Content?
Most projection mapping content is fully animated — loops that play back as finished visuals. Textures work differently and serve a different purpose.
The advantage: you control the animation entirely. The same column element can:
Appear gradually with a custom reveal animation
Pulse, shimmer or glow with your own light effects
React to music with audio-reactive parameters you define
Be composited over any animated background of your choice
Be scaled, rotated and positioned independently
The result: a unique visual that no one else has — because you built the animation yourself using your own creative direction, not a pre-made loop.
This makes Projection Mapping Textures the professional’s choice when a client brief requires something original and site-specific rather than a generic loop.
Technical Specifications
Format: PNG sequence or MOV with alpha channel (ProRes 4444)
Resolution: HD and 4K available
Alpha channel: pre-multiplied, clean edges
Background: fully transparent — place over any layer
Software compatibility: Resolume Arena, Adobe After Effects, MadMapper, DaVinci Resolve, Cinema 4D, any software that supports alpha channel video
Workflow 1 — Animate from Scratch in After Effects
This workflow gives maximum creative control.
Step 1 — Import the texture
Import your PNG or MOV texture file into After Effects. Place it on a composition sized to match your projection output — 1920×1080, 3840×2160 or a custom aspect ratio matching your building surface.
Step 2 — Create your background
Add a solid colour, gradient or animated video layer beneath the texture. The alpha channel of the texture will sit cleanly above it.
Step 3 — Animate the texture
Use After Effects keyframes, expressions or effects to animate the texture:
Opacity animation — simple fade-in for reveal
Scale and position — grow the element into place from a vanishing point
Glow and bloom — add a glow effect (Fast Box Blur + Screen blend mode) to make the element appear to emit light
Colour grading — Hue/Saturation or Curves to match your show palette
CC Light Sweep — sweep a highlight across the surface for a reveal effect
Audio-reactive — use the Audio Amplitude expression to drive scale or opacity from a music track
Step 4 — Export
Export as ProRes 4444 MOV with alpha channel, or as a numbered PNG sequence. Load into Resolume Arena or your mapping software for projection.
Workflow 2 — Use with Video Mapping Toolkits as Animated Mask
This is the fastest workflow and produces professional results without building animation from scratch.
Video Mapping Toolkits are pre-built animated compositions — moving geometric patterns, flowing light effects and dynamic transitions — created specifically to work as animation layers for projection mapping.
How it works:
Load your chosen Video Mapping Toolkit in After Effects or Resolume Arena
Place your Projection Mapping Texture element on the layer above the Toolkit
Set the Toolkit layer as a luma matte or alpha matte for the texture
The Toolkit animation now drives the texture — revealing, animating and masking the architectural element according to its motion
The result: the decorative column or arch appears to fill with light, ripple with energy or emerge from darkness — driven entirely by the Toolkit’s animation without any manual keyframing.
This combination — Textures + Toolkits — is one of the most efficient production workflows for architectural building shows where a client needs original-looking content at scale without a full custom animation budget.
Workflow 3 — Direct Compositing in Resolume Arena
For live show operators who build content in Resolume rather than pre-rendering in After Effects.
Step 1 — Import your texture file into Resolume Arena’s file browser. Resolume reads MOV with alpha channel natively.
Step 2 — Create a new clip slot and load the texture. Set the blend mode to Add or Screen to composite it over your background layer.
Step 3 — Use Resolume’s built-in effects — BPM Sync, Audio Analyser, Strobe, Glow — to animate the texture in real time during performance.
Step 4 — Layer multiple textures — columns on one layer, cornice on another, window frames on a third — to build a complex architectural composition live.
This approach works for live-performed shows where the operator controls the visual composition in real time rather than playing back a pre-rendered file.
Architectural Styles Available
The Projection Textures library covers a wide range of historical and regional styles — allowing you to match the visual language of the projection to the building’s actual architecture or to create a deliberate contrast:
European classical styles:
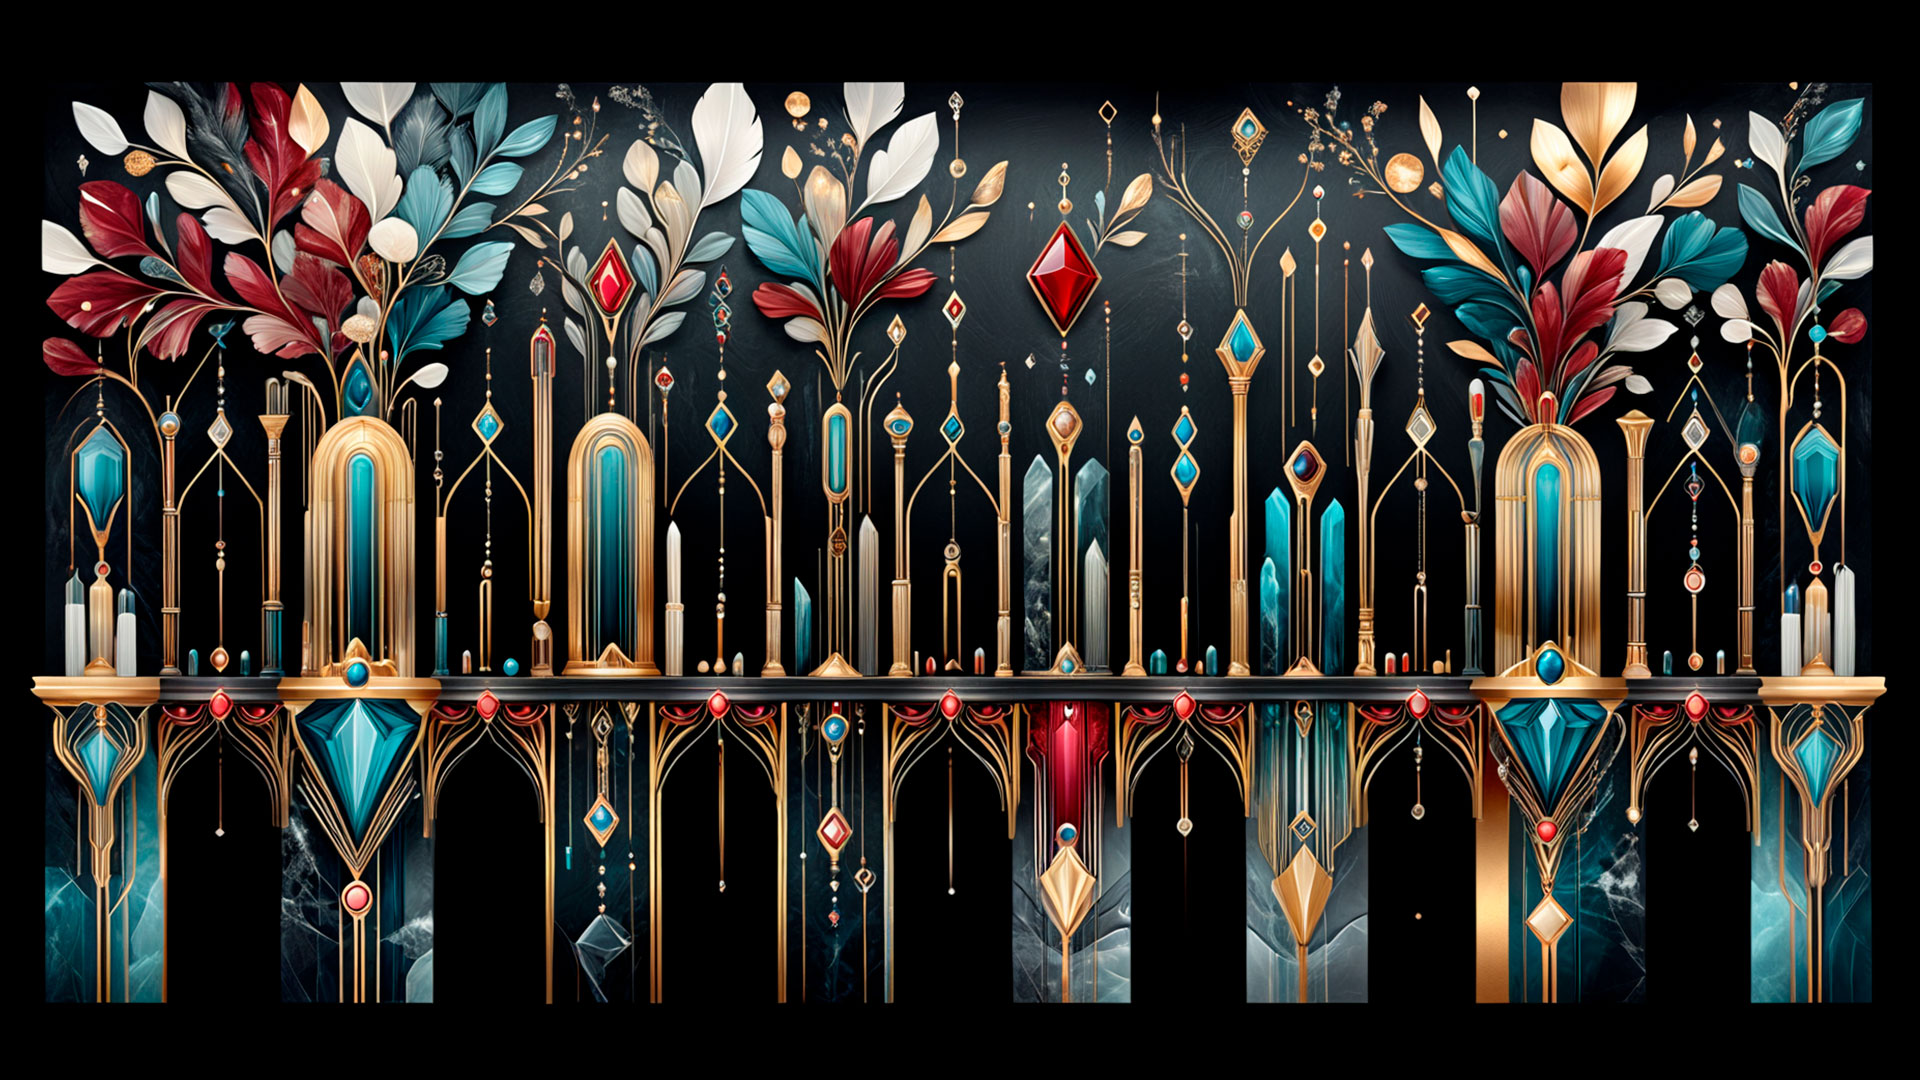
Baroque, Rococo, Gothic, Renaissance, Neoclassical, Art Nouveau, Art Deco
National and regional styles:
Japanese traditional, Aztec and Pre-Columbian Mexican, Islamic geometric, Byzantine, Ancient Egyptian, Slavic folk ornament, Arabian Nights
Abstract architectural elements:
Geometric grids, lattice patterns, ornamental borders — usable across any architectural period
Each style collection contains multiple elements — columns, arches, cornices, windows, ornamental details — designed to work together as a coherent visual system on a single building surface.
Practical Tips
Match scale to projection distance. Architectural elements that look detailed on screen can lose definition at long throw distances. Test your textures at the intended projection scale before the show.
Layer 3–5 elements maximum. More than five texture layers in the same composition become visually noisy. The strongest facade looks come from 2–3 carefully chosen elements with deliberate spacing.
Use desaturated backgrounds. Projection Textures read best against dark, desaturated or monochromatic animated backgrounds — especially Video Mapping Loops with depth effect geometry. Colourful or busy backgrounds compete with the decorative detail.
Pre-render for stability. For large shows with multiple projectors, always pre-render your texture compositions to ProRes rather than compositing live. Real-time compositing of multiple alpha layers can drop frames on complex setups.
Browse Projection Mapping Textures
The full collection is available at Video Mapping Store — Projection Mapping Textures →
All textures are royalty-free — one purchase covers unlimited commercial use across all your events and installations. Available as instant digital download in HD and 4K resolution.
For the complete animated facade workflow, explore Video Mapping Toolkits → and Animated Facades →
-
Sale!
Ivory Jugendstil – Projection Mapping Texture Pack Vol.116
Original price was: €49.€39Current price is: €39. -
Sale!
Techno Nexus – Projection Mapping Texture Pack Vol.115
Original price was: €49.€39Current price is: €39. -
Sale!
Golden Empire – Projection Mapping Texture Pack Vol.114
Original price was: €49.€39Current price is: €39. -
Sale!
Sanctum Lux – Projection Mapping Texture Pack Vol.113
Original price was: €49.€39Current price is: €39. -
Sale!
Aurora Royale – Projection Mapping Texture Pack Vol.112
Original price was: €49.€39Current price is: €39. -
Sale!
Imperial Ornaments – Projection Mapping Texture Pack Vol.111
Original price was: €49.€39Current price is: €39. -
Pink Rhapsody – Projection Mapping Texture Pack Vol.110
€29 -
Golden Serenity – Projection Mapping Texture Pack Vol.109
€29 -
Golden Bevel – Projection Mapping Texture Pack Vol.108
€29 -
Sale!
Floral Reverie – Projection Mapping Texture Pack Vol.107 – UPDATED
Original price was: €49.€39Current price is: €39. -
Sale!
Arabesque Illusions – Projection Mapping Texture Pack Vol.106 – UPDATED
Original price was: €49.€39Current price is: €39. -
Amber Arcs – Projection Mapping Texture Pack Vol.105
€29 -
Luxe Revival – Projection Mapping Texture Pack Vol.104
€29 -
Ripple Symphony – Projection Mapping Texture Pack Vol.103
€29 -
Ruby Splendor – Projection Mapping Texture Pack Vol.102
€29 -
Opal Crownworks – Projection Mapping Texture Pack Vol.101
€29 -
Stellar Spectrum 2-in-1 – Projection Mapping Texture Pack Vol.100
€29 -
Fluid Light – Projection Mapping Texture Pack Vol.99
€29 -
Midnight Frost 2-in-1 – Projection Mapping Texture Pack Vol.98
€29 -
Sale!
Sapphire Symphony – Projection Mapping Texture Pack Vol.97 – UPDATED
Original price was: €49.€39Current price is: €39. -
Sale!
Stellar Mechanics – Projection Mapping Texture Pack Vol.96 – UPDATED
Original price was: €49.€39Current price is: €39. -
Sale!
Elegance Unbound – Projection Mapping Texture Pack Vol.95 – UPDATED
Original price was: €49.€39Current price is: €39. -
Dune Dreams – Projection Mapping Texture Pack Vol.94
€29 -
Fleur de Fortune – Projection Mapping Texture Pack Vol.93
€29